


Study Notes:
In this lesson, we aim to explain some top-level concepts to help you familiarize yourself with the Trader Workstation or TWS platform. To get started, we’re going to walk through these steps:
- Getting Started with TWS
- Download and set-up TWS
- Mosaic Functionality
- Customize the Mosaic layout
Install TWS
Install TWS on your personal computer.
Go to the Interactive Brokers’ website at IBKR.com to perform a one-time download of TWS, our Java-based trading platform. Click the Log In button at the upper right of any page, and then select Download Trader Workstation.
Here you’ll see the three available TWS versions:
- TWS Latest
- TWS
- TWS Beta
To determine which version is right for you, hover over each option with your mouse to read a description of each one, then once you’ve made your selection, click the appropriate button and select the Download button.
Need help? Click on the link to View Installation Instructions.
Once downloaded and successfully installed, go ahead and launch Trader Workstation.
TWS Login Settings
You will be presented with the TWS log-in screen. Before you log-in, let’s take a look at the available settings.
You can select either Live Trading, or Paper Trading mode.
For this course, we’ll select a paper trading test environment to learn trading features of TWS without risk. Paper trading lets you use the full range of trading facilities in a simulated environment using real market conditions.
Click More Options to see additional login-related settings, such as:
- Switching TWS versions without downloading additional software,
- Selecting a preferred color theme for TWS – classic, dark or light,
- Defining your language setting,
- Adjusting your region and time zone, and more.
Click the help icons to learn more about these features.
Once you’ve explored this screen, enter your username and password and log in.
Mosaic Panels
As you can see, the default Mosaic view inside TWS comprises a series of individual tiles or panels, that operate within a highly configurable interface.
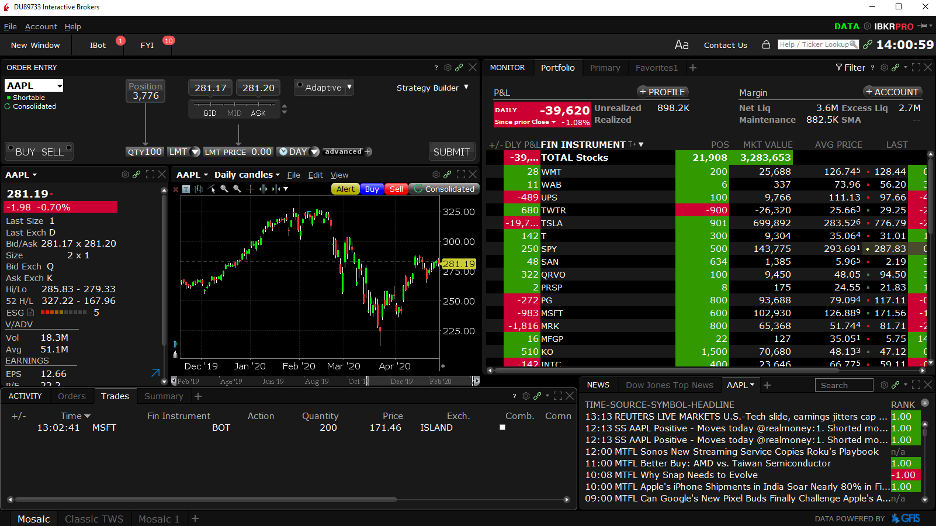
Order Entry Panel
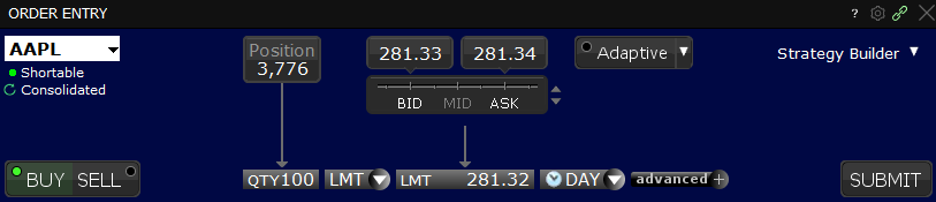
To the upper left, you’ll see the Order Entry window, which includes the price quote for a selected financial instrument.
This window enables you to quickly configure a buy or sell order, which you can then submit to an exchange for execution.
Below that, you’ll see the Quote Panel, which will provide you with additional pricing and fundamental details for the selected asset.
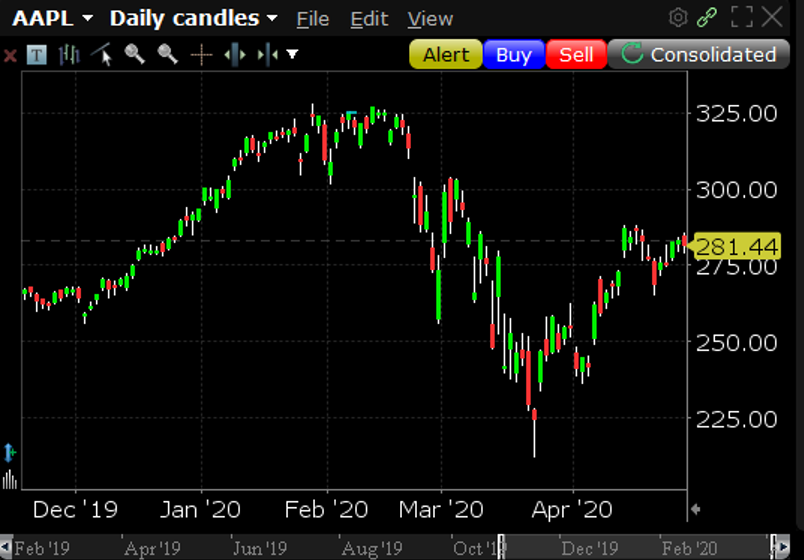
Chart Panel
Alongside that is a Chart Window displaying a bar or line price action over a configurable time period.
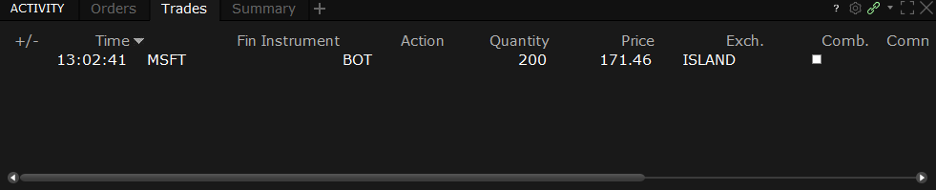
Activity Panel
At the bottom of the Mosaic display is an Activity panel, where you can review open orders, completed trades and review a summary of your activity.
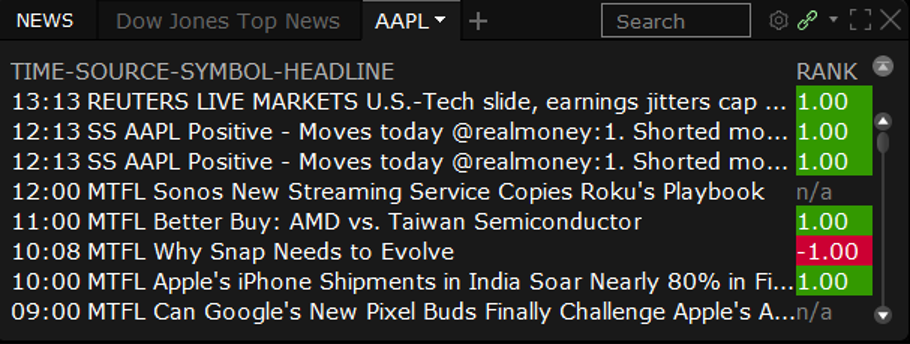
News Panel
We also have the News monitor in the lower right corner, and above that is the Monitor panel, which is arguably the most important of all these windows.
Monitor Panel
Here you can display many symbols, along with a host of configurable columns containing valuable trading information.

We’ll take a closer look at the Monitor panel in a later lesson, where we will show you how to access your Portfolio tab, open multiple watchlists and even create market scanners.
Mosaic Tabs
Now that you’ve had a big-picture overview of the Mosaic layout, let’s look at the two tabs at the lower left of TWS, which read “Mosaic” and “Classic TWS.”
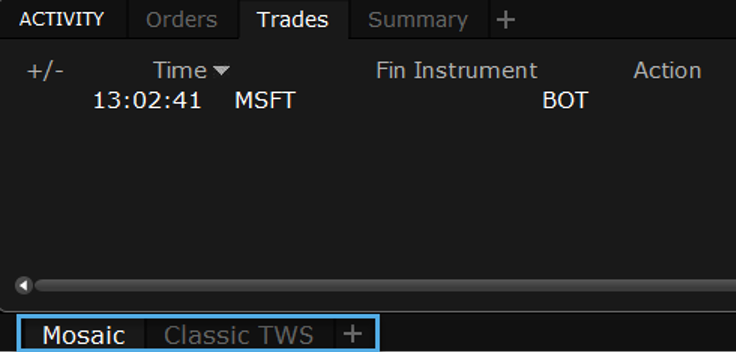
The “Classic TWS” tab opens to a spreadsheet-like display of TWS where you can enter symbols on each line and trade. Our focus in this course, however, will be on the newer Mosaic interface.
Next to the Classic TWS tab is a plus-sign. Click this symbol to create self-designed Mosaic tabs or access the Layout Library.
When you click Browse beneath the Layout Library image, you’ll see a myriad of pre-defined Mosaic workspace layouts based on specific workflows or instruments.
Mosaic Layout Library
You can customize these pre-defined layouts or create your own from scratch.
You may wish to run multiple tabs inside TWS by using the Layout Library to customize your own workspace.
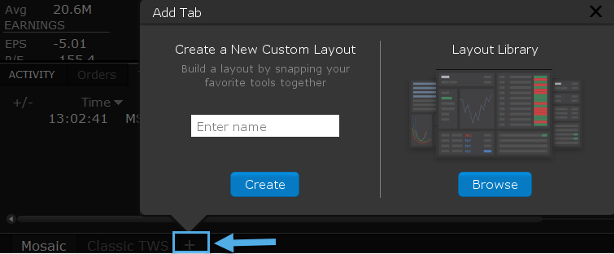
To add a predefined layout to Mosaic, simply click the Add Layout button. Now you will see the new layout display on your screen. This is a popular way to access the information you frequently use.
Each layout that you add or create is added as a tab at the bottom of the screen.
Let’s go back to the default Mosaic tab.
Now that you’ve been introduced to some essential Mosaic panels, let’s take a look at the various icons on the upper right of each panel.
TWS Mosaic Panel icons
Hover above any of the icons and you’ll reveal the name of each. The Question Mark icon will display a Cheat Sheet or tutorial for that specific panel.
![]()
For example, here’s a Cheat Sheet for the Order Entry panel. Click the ‘?’ icon.
You’ll also see a gear icon, which is a shortcut to Configuration settings for each specific panel.
When you click the gear icon in a specific tile, for instance the Monitor panel, and select Settings, the configuration window opens to the menu selections on the left for the Monitor panel.

You’ll see on the right side that you can add or remove columns on the Monitor panel.
I will select the Position and P&L grouping and add an Unrealized P&L column by clicking the Add button. Simply click apply and Ok when you’re done.
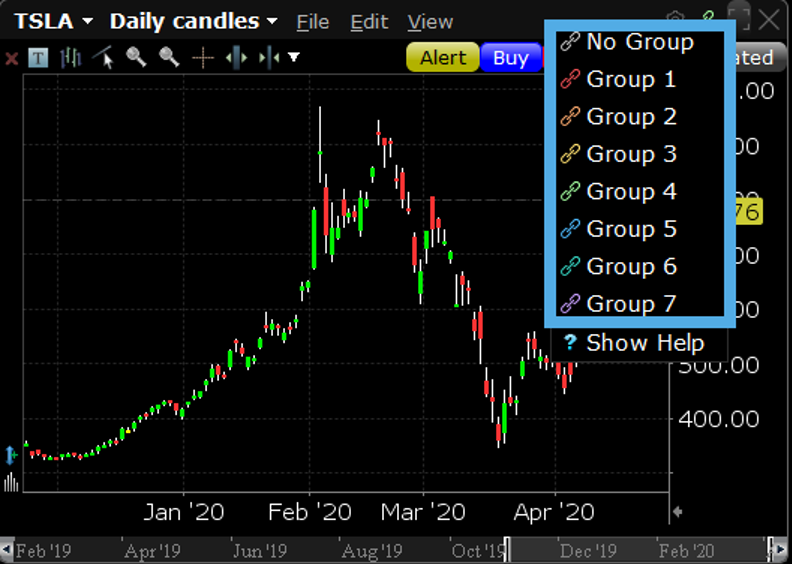
The other important icon here is that little green chain-link, which enables users to group windows together.
For example, watch what happens when you select a ticker in a Watchlist; the other panels that are part of the same color-linked group update for that ticker.
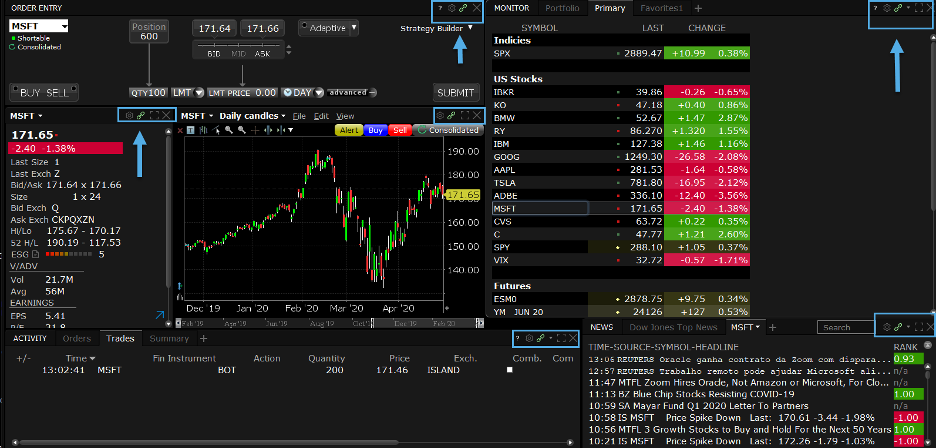
TWS Mosaic Panel icon – Windows grouping
Assign a panel to a group using the colored links on the top right of the window’s title bar.
You’ll notice that all windows with the same color link are part of the same group.
TWS Mosaic – More tools
Let’s now switch over to the upper left of Mosaic, where you will see a New Window button.
Here’s where you can access several additional tools.
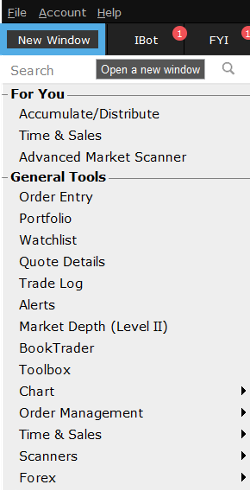
The windows are grouped according to Tools and Information functions – and keep in mind, that whenever you see an arrowhead, this means you can expand the display to reveal additional windows.
Let’s add a new window to the default Mosaic layout.
First, you will need to locate and click the Padlock icon on the upper right of Mosaic.
![]()
You can always tell when the Mosaic display is in edit mode by the thick green border surrounding the entire container.
Now you can reduce or enlarge the panels.
And so, if you want to resize and make space for an additional panel, click and drag the edge of a tile and then reposition the added panel chosen from the New Window menu.
When you have finished resizing and want to save your new display, just click the Padlock icon again to set the layout.
Account Menu
Next, turn your attention to the Account menu item on the upper left of Mosaic.
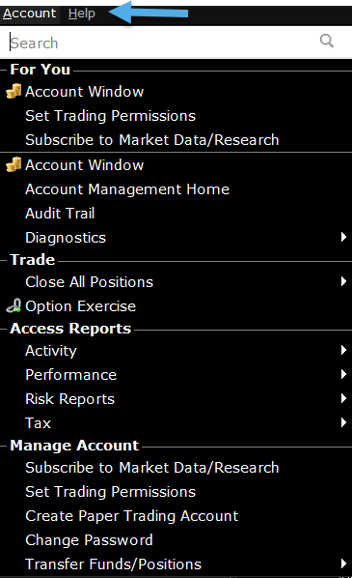
Here’s where you can view your Account information, such as your reports and statements, subscribe to additional market data and more.
The Account window shows you a quick overview of your balances, margin requirements, funds available for trading and portfolio positions.
For more account information, select Account Management Home.
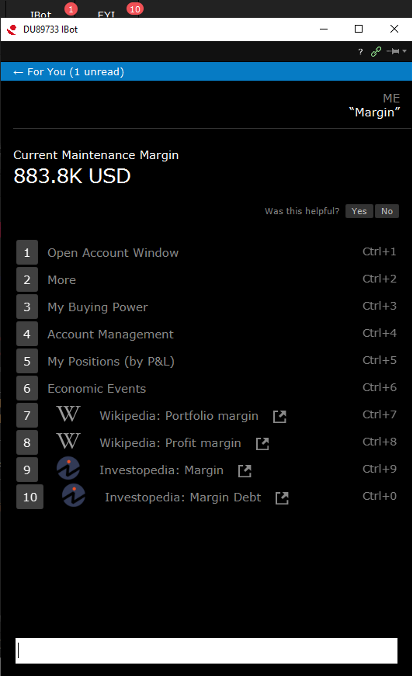
TWS Mosaic Panel iBot – find answers to common questions
If you can’t find what you’re looking for, no worries, simply use iBot to help you search by typing a question into the bottom input field. iBot will help find the right answer for you.
TWS Mosaic Help – User Guides Customer Service Info
You can access the Help menu to view user guides and customer service information.
Traders’ Academy – Related Courses
Watch: Intro to Order Types and Charts TA courses
You’ve now completed the Traders’ Academy TWS for Beginners Lesson 1. Look out for more lessons from this course by selecting the Education menu on the IBKR home page and choosing Traders’ Academy, or for additional related material, refer to the Introduction to Order Types and Introduction to Chart courses from Traders’ Academy.
Join The Conversation
If you have a general question, it may already be covered in our FAQs. If you have an account-specific question or concern, please reach out to Client Services.