


")


Installing Prophet library on a Windows system can be tricky due to some dependencies with other libraries. In this blog, we will list down the steps for a smooth and hassle-free installation of Prophet on your Windows systems.
We will cover the following topics:
- What is Prophet?
- Prophet installation dependencies
- Checking the environment before installing Prophet
- Prophet installation using conda
- Installing Prophet dependencies
- Installing Prophet
- Common issues and fixes
What is Prophet?
Prophet (earlier called fbprophet) is an open-source library developed by the Core Data Science team at Facebook. It is used mainly for time series forecasting.
It is robust to missing data, outliers, and trend shifts and is one of the most popular libraries used for time series forecasting. To know more about Prophet, you can go through its official documentation.
Installing Prophet on Mac OS is also possible.
Prophet installation dependencies
Prophet installation may be tricky mainly due to the following three reasons:
- Python version
- Dependency on Pystan library
- Microsoft C++ Build Tools dependency
Checking the environment before installing Prophet
I’m using a Windows 10 machine for this post. However, the process should work for all Windows systems.
We will first check the Python version installed on our system before we move ahead. We run the below command on the Anaconda prompt, as shown below.
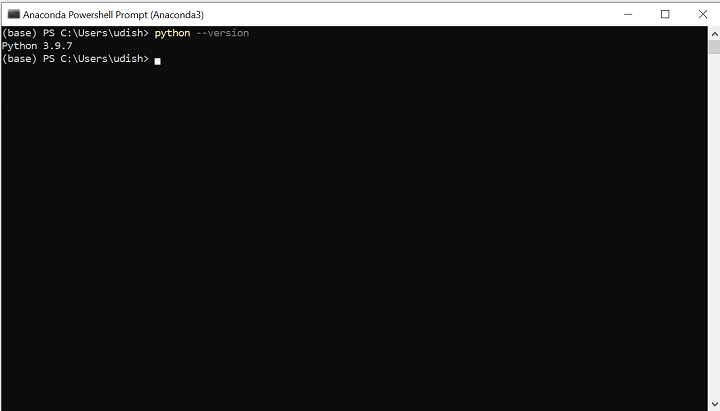
If you have Python 3.6 or later, you are good to go.
However, due to the various dependencies, we suggest that you create a new environment for installing Prophet. We create an environment called prophet39 on your system by running the below line on the Anaconda prompt:
conda create -n prophet39 python=3.9
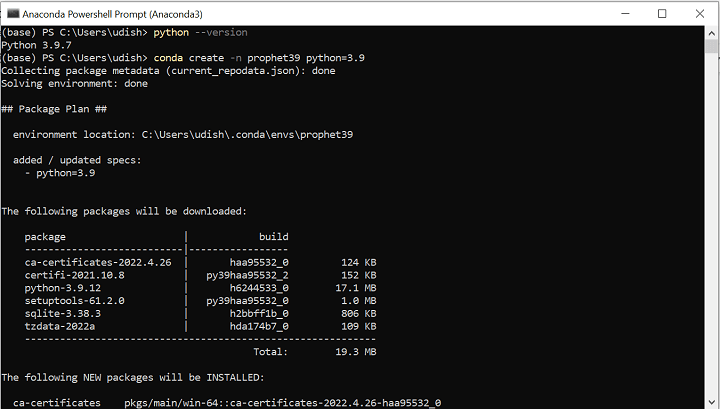
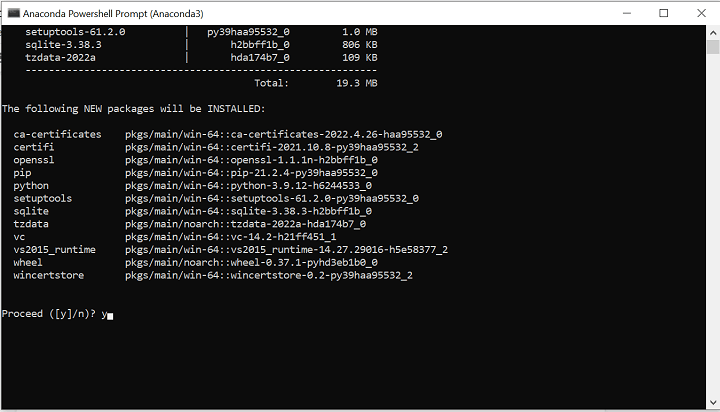
When conda prompts us whether to proceed, we enter ‘y’.
Once it is done, we activate this prophet39 environment using the command:
conda activate prophet39
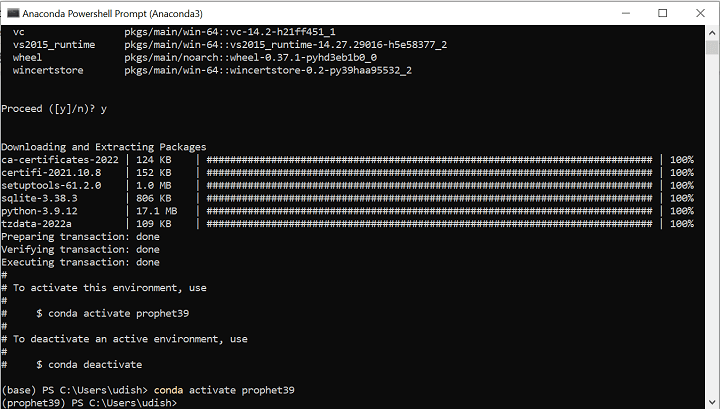
As you can see, we are now in the prophet39 environment. Now, we can proceed further with our installation.
Prophet installation using conda
As mentioned earlier, Prophet installation can be tricky due to its dependencies. However, a straightforward solution could be to use conda for installation. Using conda for installation has various advantages.
- Conda is cross-platform so it works on any system.
- It is easy to manage environments with conda. In the previous section, we used conda to create an environment with a specific version of Python.
- Conda ‘solves’ your environment for you. This means that it takes care of all the dependencies for you.
So, the first thing to do to install Prophet is to run this command on the terminal:
conda install -c conda-forge prophet
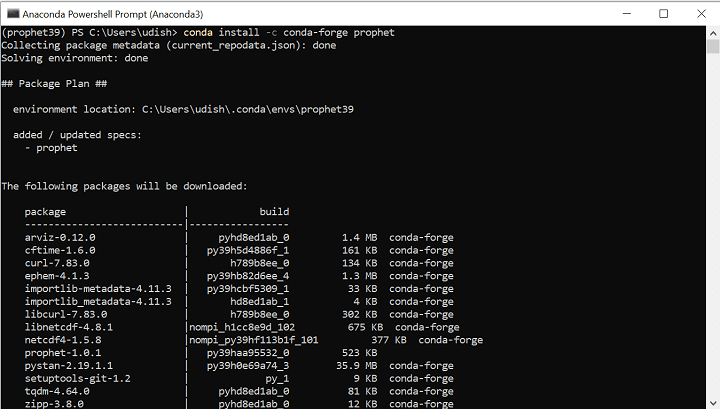
In most cases, this will install Prophet successfully on your system. If this works for you, you can skip the rest of the blog.
However, in some cases, you may encounter errors. Did you get one after running the above command?
If you did, this blog merits your continued attention. Read on as we take you through a step-wise description of installing the dependencies and then the Prophet library itself.
Installing Prophet dependencies
The major dependency for Prophet is Pystan. The Pystan library has its own installation instructions.
However, before we install Pystan, we need to install some other libraries.
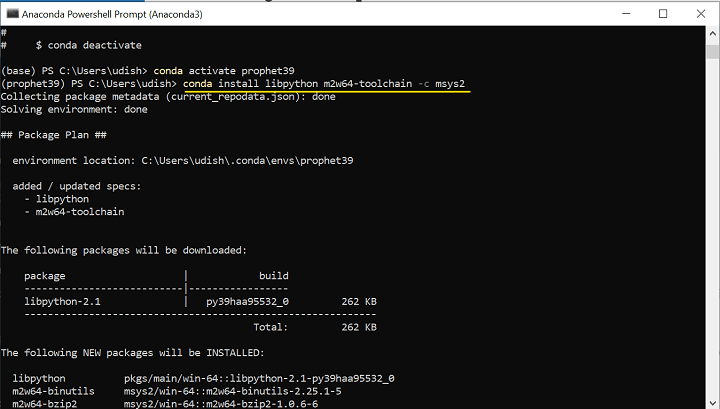
First, we need to install the C++ compiler, mingw-w64 toolchain, which, in turn, requires libpython. So, we install both of them as follows:
conda install libpython m2w64-toolchain -c msys2
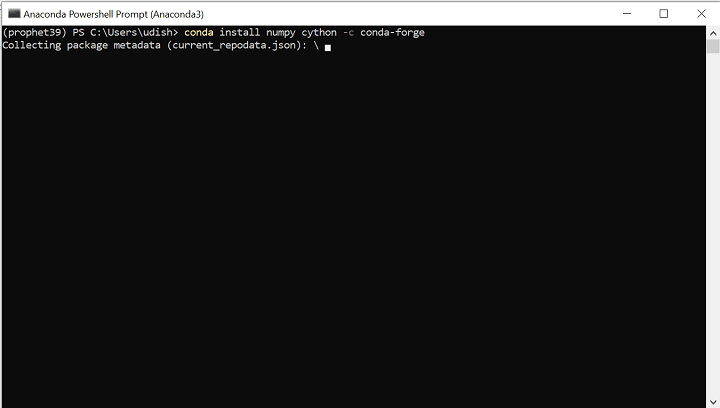
We need to install Cython and Numpy.
conda install cython numpy
In case of any issues, you can use the following command:
conda install numpy cython -c conda-forge
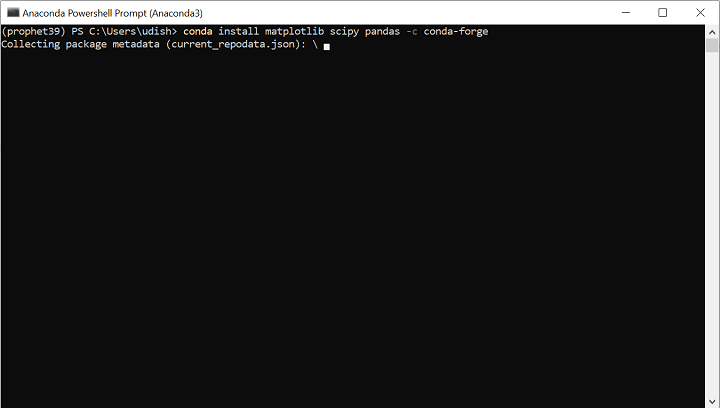
Now, we install some other optional dependencies, which will help in our installation proceeding smoothly.
conda install matplotlib scipy pandas -c conda-forge
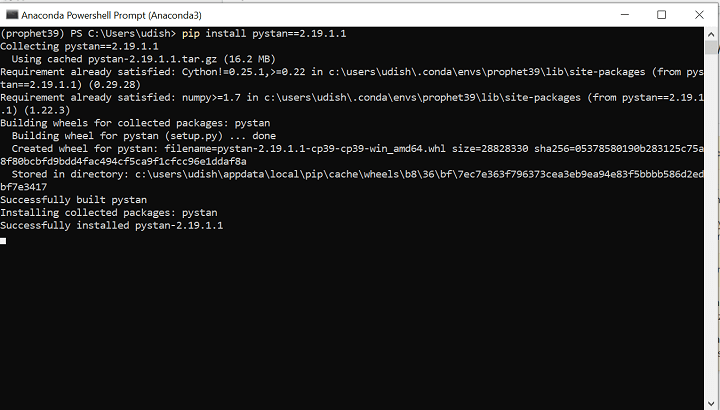
Since Pystan is available on pip, we recommend using pip to install it, as shown below:
pip install pystan
Alternatively, we can install it using conda:
conda install pystan -c conda-forge
Installing Prophet
We’re nearly at the end now.
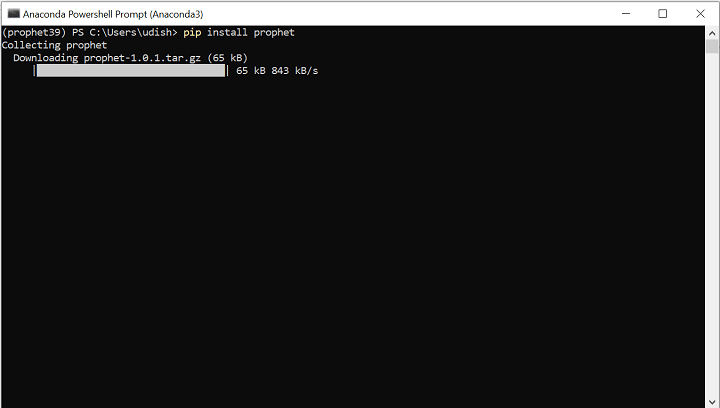
Finally, we install Prophet using this command:
pip install prophet
Common issues and fixes
Prophet installation can be buggy, mainly due to its dependency on Pystan, which, in turn, has its own dependencies. However, if you follow the installation instructions listed above, the process, though long, would be smooth.
Here is a list of common issues and how to deal with them:
| SNo. | Issue | Suggested Fix |
| 1. | Using pip install for Prophet, you get an error: “running setup.py install for prophet … error” | Use Anaconda to install:conda install -c conda-forge prophet |
| 2. | ERROR: Failed building wheel for pystan | Ensure all the dependencies for Pystan (including the optional ones) are installed. |
| 3. | Error when installing Prophet with Python 3.9, using pip. | Try installing it on Python 3.7. |
| 4. | Error while installing in your base environment. | We recommend creating a new environment before installing Prophet due to its various dependencies. |
| 5. | After installation, when importing prophet, you get the error: “Importing plotly failed. Interactive plots will not work.” | Check if plotly is installed in the prophet39 environment. If not, install plotly using:pip install plotly If plotly is already installed, upgrade it using:pip install –upgrade plotly |
| 6. | Error when installing pystan using pip. | Try using Anaconda to install:conda install pystan -c conda-forge |
| 7. | Error when installing Prophet: “error: Microsoft Visual C++ 14.0 or greater is required. Get it with “Microsoft C++ Build Tools” | Install Microsoft Visual C++ from https://visualstudio.microsoft.com/visual-cpp-build-tools/.After that, try installing Prophet again. |
Conclusion
We discussed how to install the Prophet library on a Windows machine, starting from creating an environment, installing its dependencies, and the final Prophet installation.
We also looked at some of the frequently faced issues in the installation and how to troubleshoot them. I hope this will save you some time and effort when installing this library on your Windows system.
Visit QuantInsti Blog for additional insight on this topic: https://blog.quantinsti.com/installing-prophet-library-windows/.
Disclosure: Interactive Brokers
Information posted on IBKR Campus that is provided by third-parties does NOT constitute a recommendation that you should contract for the services of that third party. Third-party participants who contribute to IBKR Campus are independent of Interactive Brokers and Interactive Brokers does not make any representations or warranties concerning the services offered, their past or future performance, or the accuracy of the information provided by the third party. Past performance is no guarantee of future results.
This material is from QuantInsti and is being posted with its permission. The views expressed in this material are solely those of the author and/or QuantInsti and Interactive Brokers is not endorsing or recommending any investment or trading discussed in the material. This material is not and should not be construed as an offer to buy or sell any security. It should not be construed as research or investment advice or a recommendation to buy, sell or hold any security or commodity. This material does not and is not intended to take into account the particular financial conditions, investment objectives or requirements of individual customers. Before acting on this material, you should consider whether it is suitable for your particular circumstances and, as necessary, seek professional advice.