


Study Notes:
The IBKR Advisor Portal has an integrated suite of Client Relationship Management (or CRM) tools that help financial advisors manage information about their clients and prospective clients.
For security, some of the CRM tools such as Notes, Workflows, Documents and Calendar are stored on Rackspace, a 3rd party cloud provider, free of charge. To access these features, create a Rackspace password by clicking Activate These Features on the Home page or navigate to Settings and under the User Settings section, select Rackspace Password. The advisor will not be required to input this password when logging in subsequently and there is no fee associated with these CRM features.
Once a Rackspace password is configured, the advisor will be able to view the Notes, Workflows, Documents and Calendar panels on the Home page. These will be discussed further later in the video.
Contacts Page
Many of the CRM tools and client information are located in the Contacts page, which is accessed by selecting Contacts from the left side navigation menu. The Contacts page displays all client accounts, including opened and pending accounts, as well as any prospective clients the advisor may have uploaded to the system. For information on uploading contacts to the Advisor Portal, please see our other video lesson in this course.
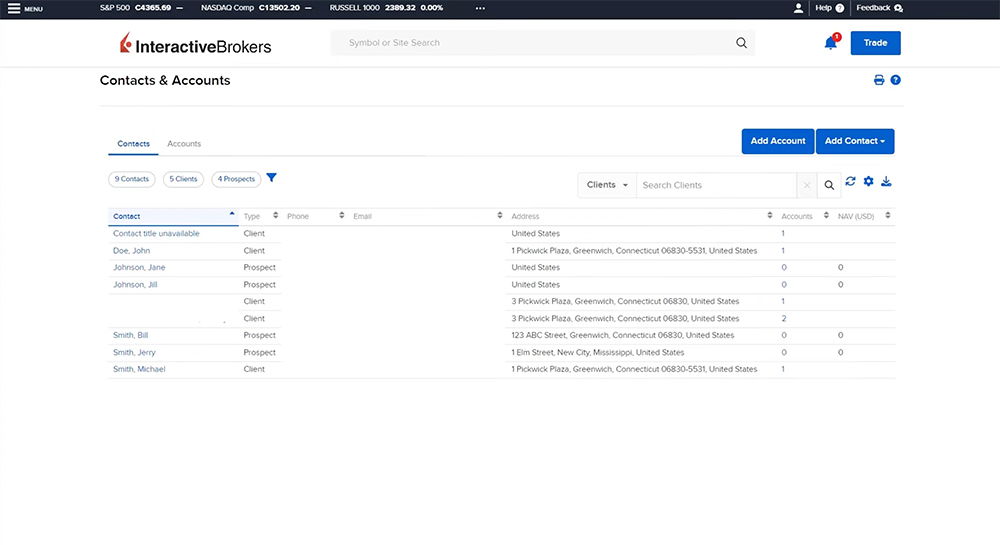
To view the client’s information, click their name in blue under the Contact column towards the left side of the screen and the client’s details will populate on the following page.
On the left side menu under Contacts, are sub-menu options that allow the advisor to quickly and easily access tools for the selected account, such as Transaction Status & History, reporting features, and additional CRM tools like the Agenda page.
Agenda Page
On the Agenda page, advisors can access CRM tools such as Workflows, Notes, Documents, and Events for the specific client account or prospective client.
Workflows are a simple way to assign tasks to other employees and monitor their progress. Click the plus icon in the right corner to add a new workflow. Workflows are broken into “stages” or individual tasks to be completed.
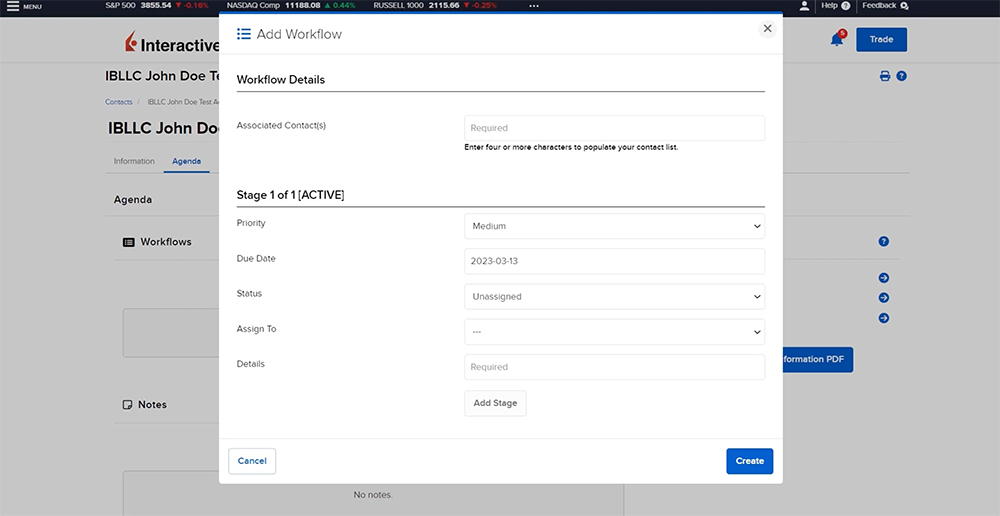
For example, the advisor may want to set a task to provide the client with a year-to-date performance report for their upcoming meeting. The advisor can set the priority and due date for each stage and assign the stage to a specific user, such as a member of the advisor’s reporting team. If there are multiple tasks to be completed for the client, click the Add Stage button, and enter the details in the same manner as the first stage. For example, if the trading team needs to review the client’s holdings and their target allocations. The Workflows are sorted by date then by priority and the workflows can be edited or deleted at any time.
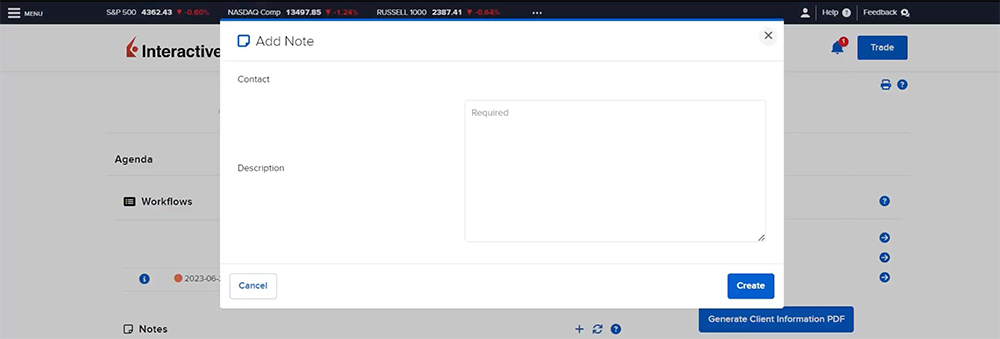
The Notes panel enables the advisor to add, edit, and delete notes for a specific client account. To add a new note, click the plus sign in the right corner of the panel and enter the details of the note in the Description field. For example, if the advisor spoke to a client and needs to remember that the client intends to retire in five-years.
Advisors can use the Documents panel to view, upload and delete documents for their contacts. To add documents, click the plus icon on the Documents panel. Click Choose a File to browse for the desired file and once selected, click Upload. To view documents, click the eye icon and to delete a document, click the X icon on the Documents panel, then select Yes to confirm.

*Please note this feature is not a document submission queue for new account application documents. The documents uploaded here are stored on Rackspace for security and this data cannot be accessed by Interactive Brokers.
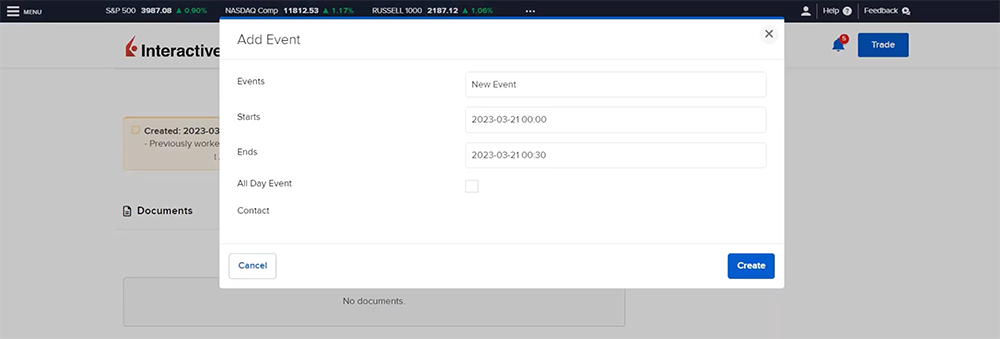
The Events panel is used to add and view upcoming events scheduled with the advisor’s contacts. Click the plus sign in the right corner of the panel to add a new event. The advisor can enter the Event name and the start and end times or check the box to indicate it is an All-Day event. To edit the event, click the pencil edit icon and to delete the event, click the x icon, then select Yes to confirm.
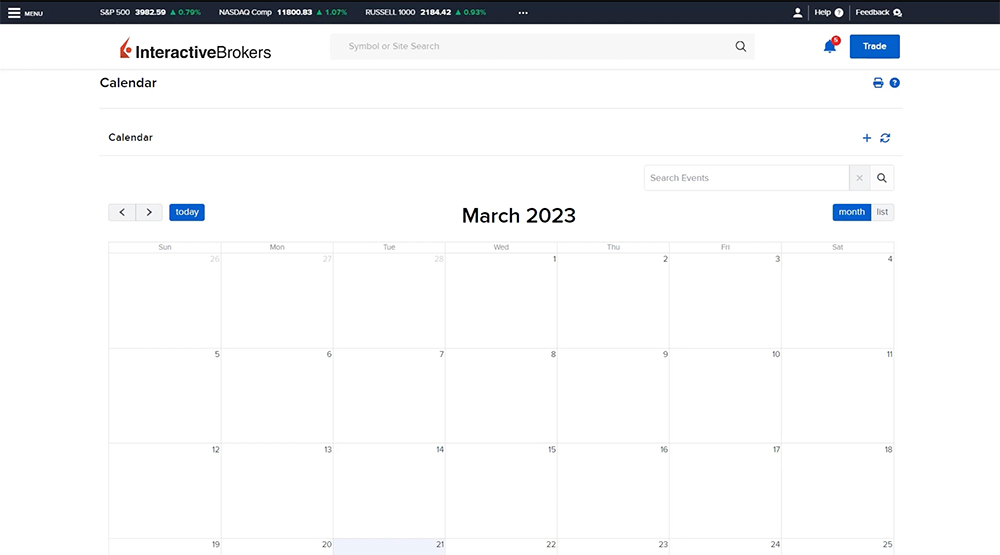
Calendar Tool
The events created by the advisor can also be viewed for all clients at by opening the left side menu, expanding Administration & Tools, and selecting Calendar. The calendar may be viewed on a monthly display or a daily list view by using the buttons to the upper right. In addition to adding events within the client’s contact, the advisor can add events directly from this Calendar page by clicking the plus sign in the upper right corner.
Email Tool
Also within the Administration & Tools menu is the Email page. Interactive Brokers partners with third-party cloud management solution provider Rackspace to provide secure storage for the advisor’s emails. IBKR neither stores nor has access to that data.
To utilize the CRM email, users must first request a mailbox by clicking the Request Mailbox button. Once Rackspace creates the mailbox and the mail settings have been configured, the email functionality is accessible from the Dashboard.
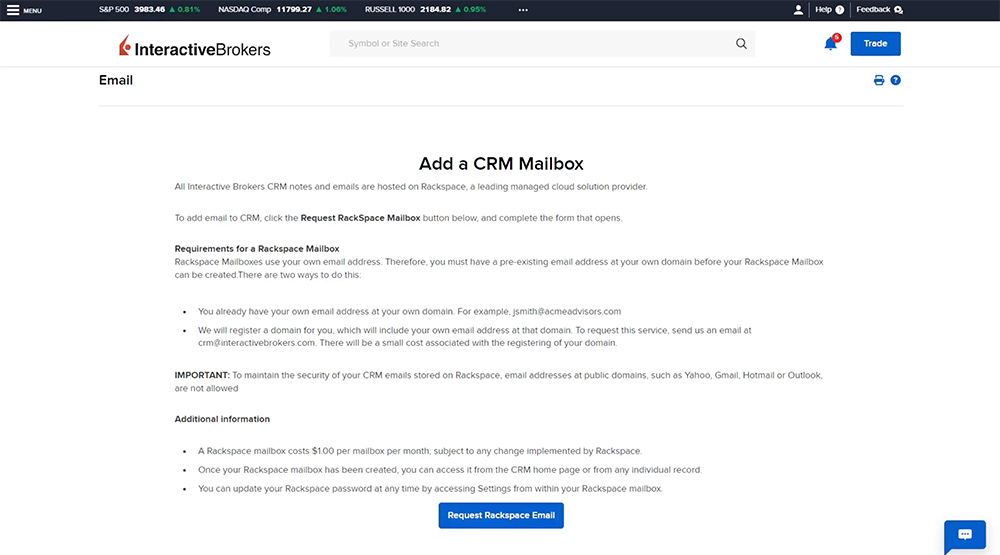
Note the following caveats about the email address:
- An established email address with a pre-existing email domain is required for Rackspace to create the inbox.
- Public domains such as Yahoo, Gmail, Hotmail, or Outlook cannot be used.
- Finally, note that there are some ongoing costs associated with integrating Rackspace email.
Resources
Join The Conversation
If you have a general question, it may already be covered in our FAQs. If you have an account-specific question or concern, please reach out to Client Services.